Installing the Raspberry Pi Camera Module
This guide demonstrates how to install a camera module in the Raspberry Pi 4 or 5 and take a picture on the command line.
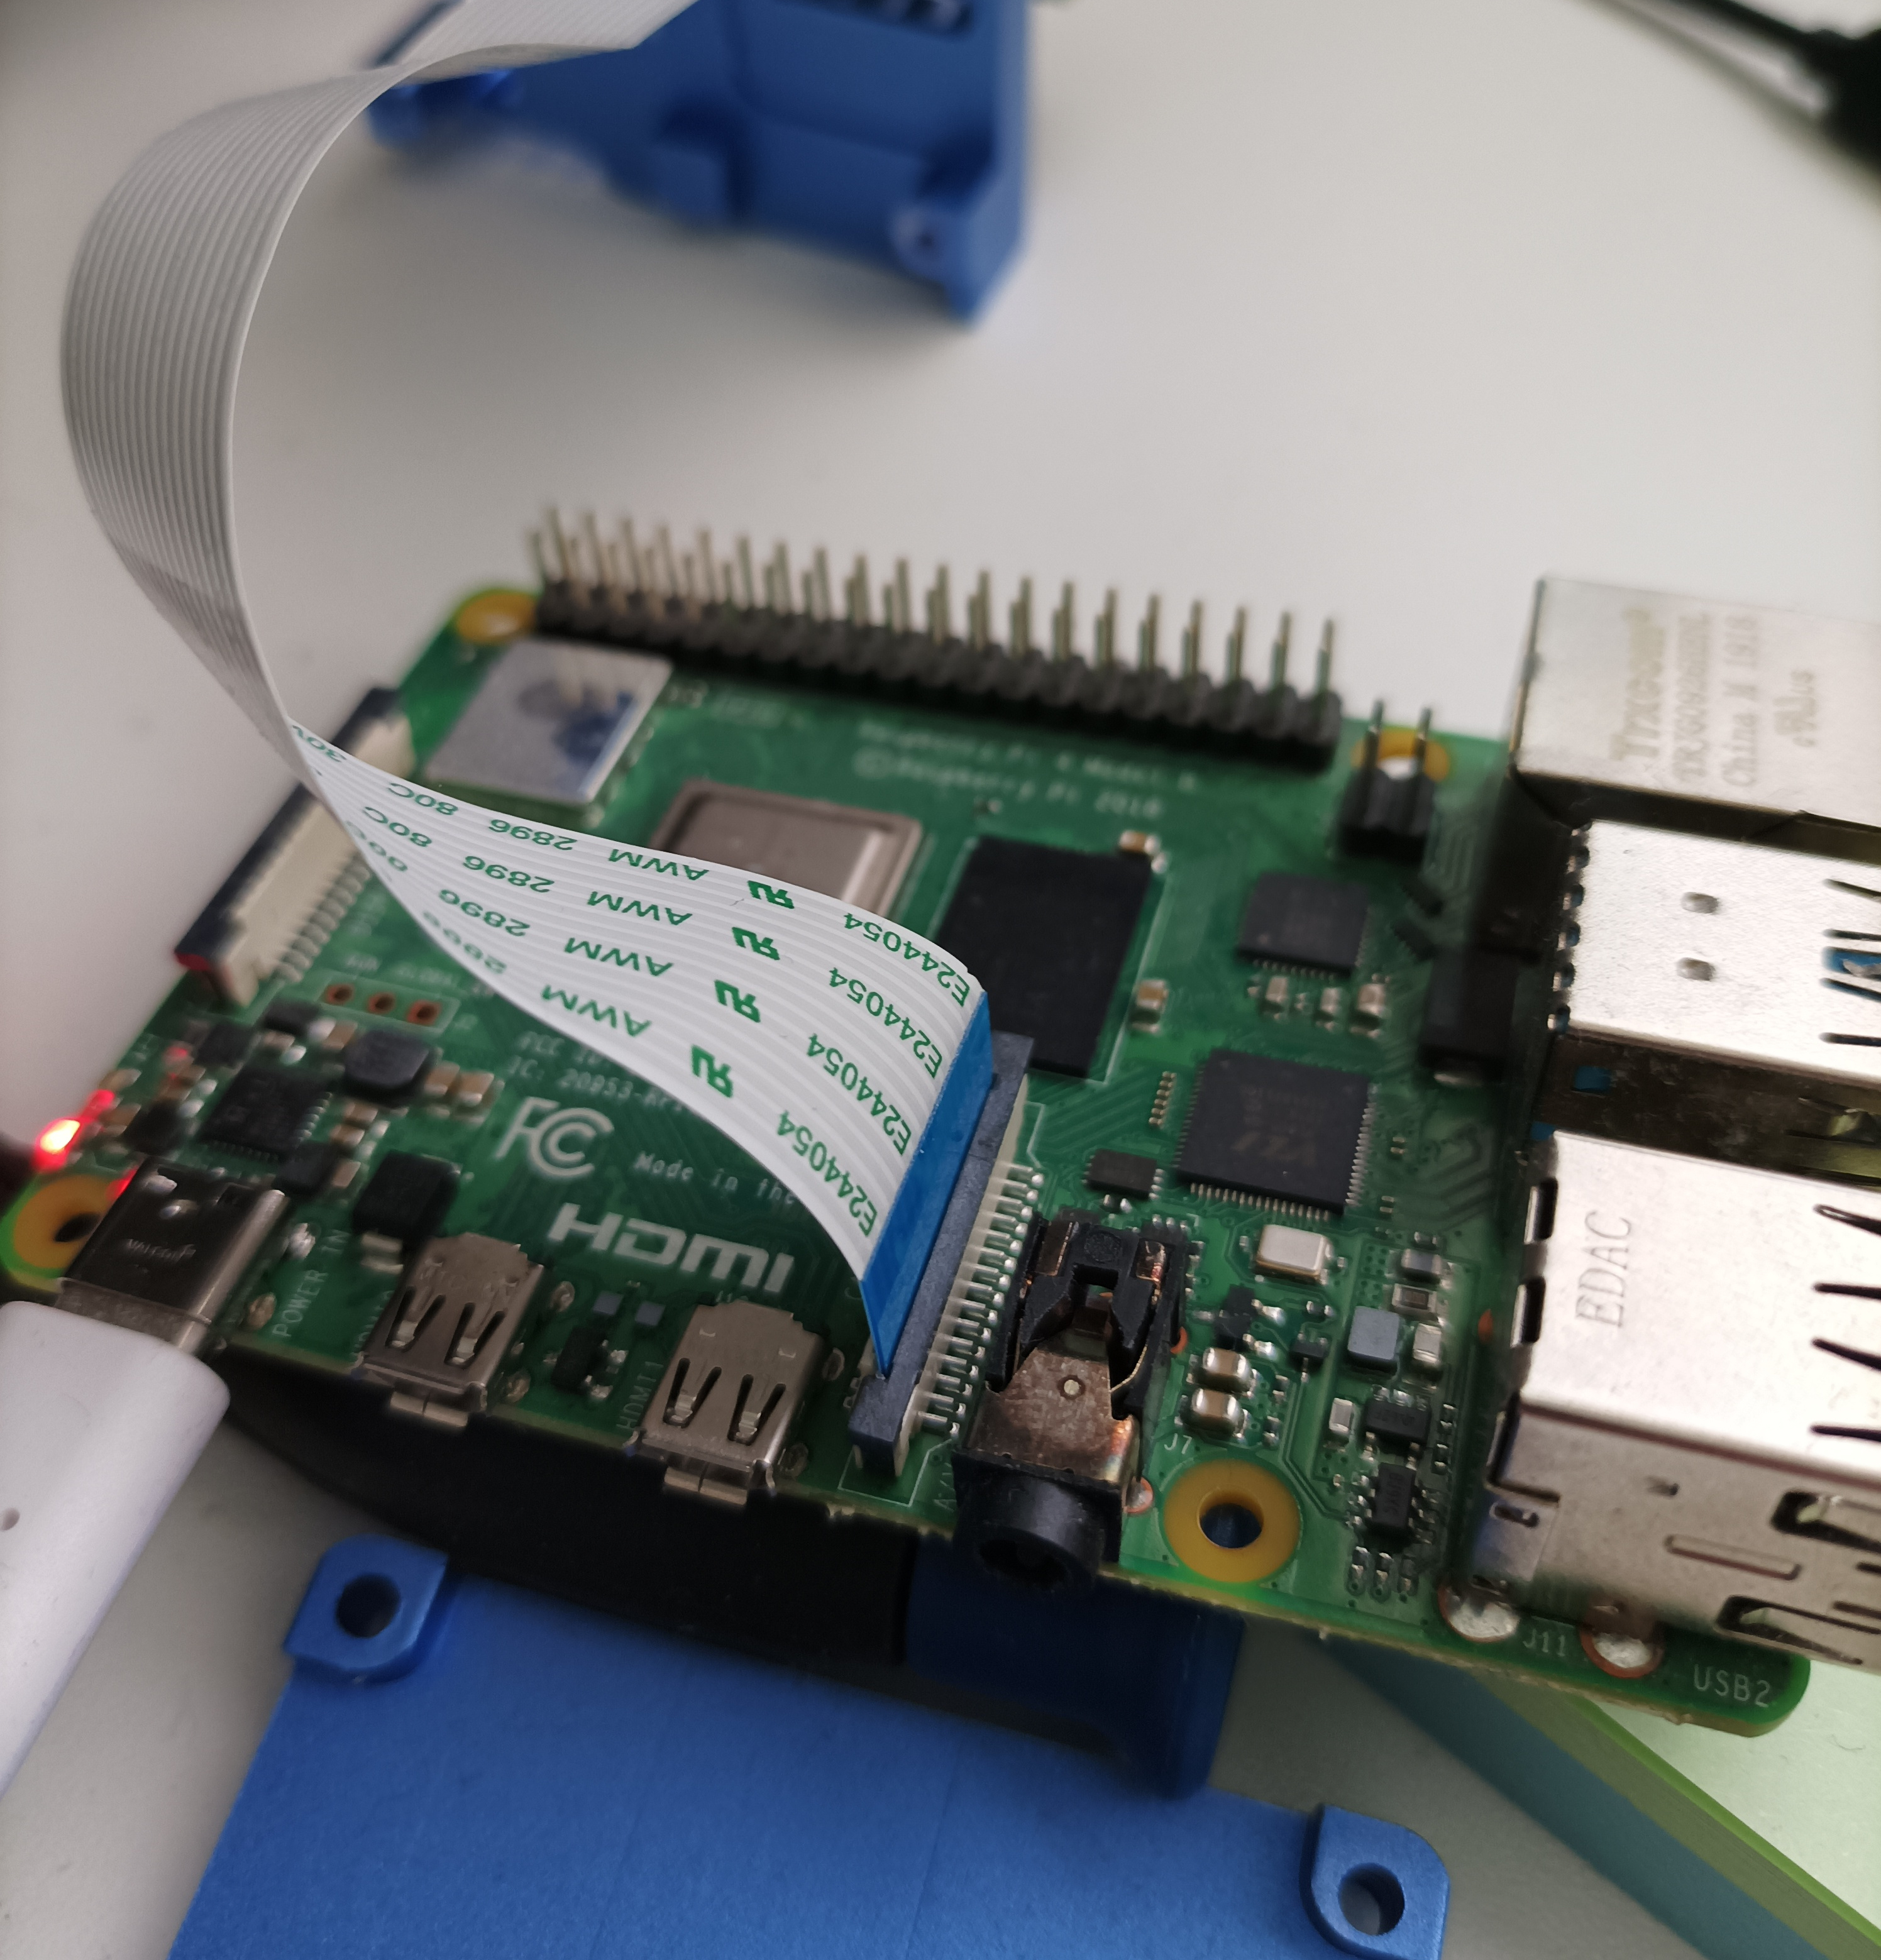
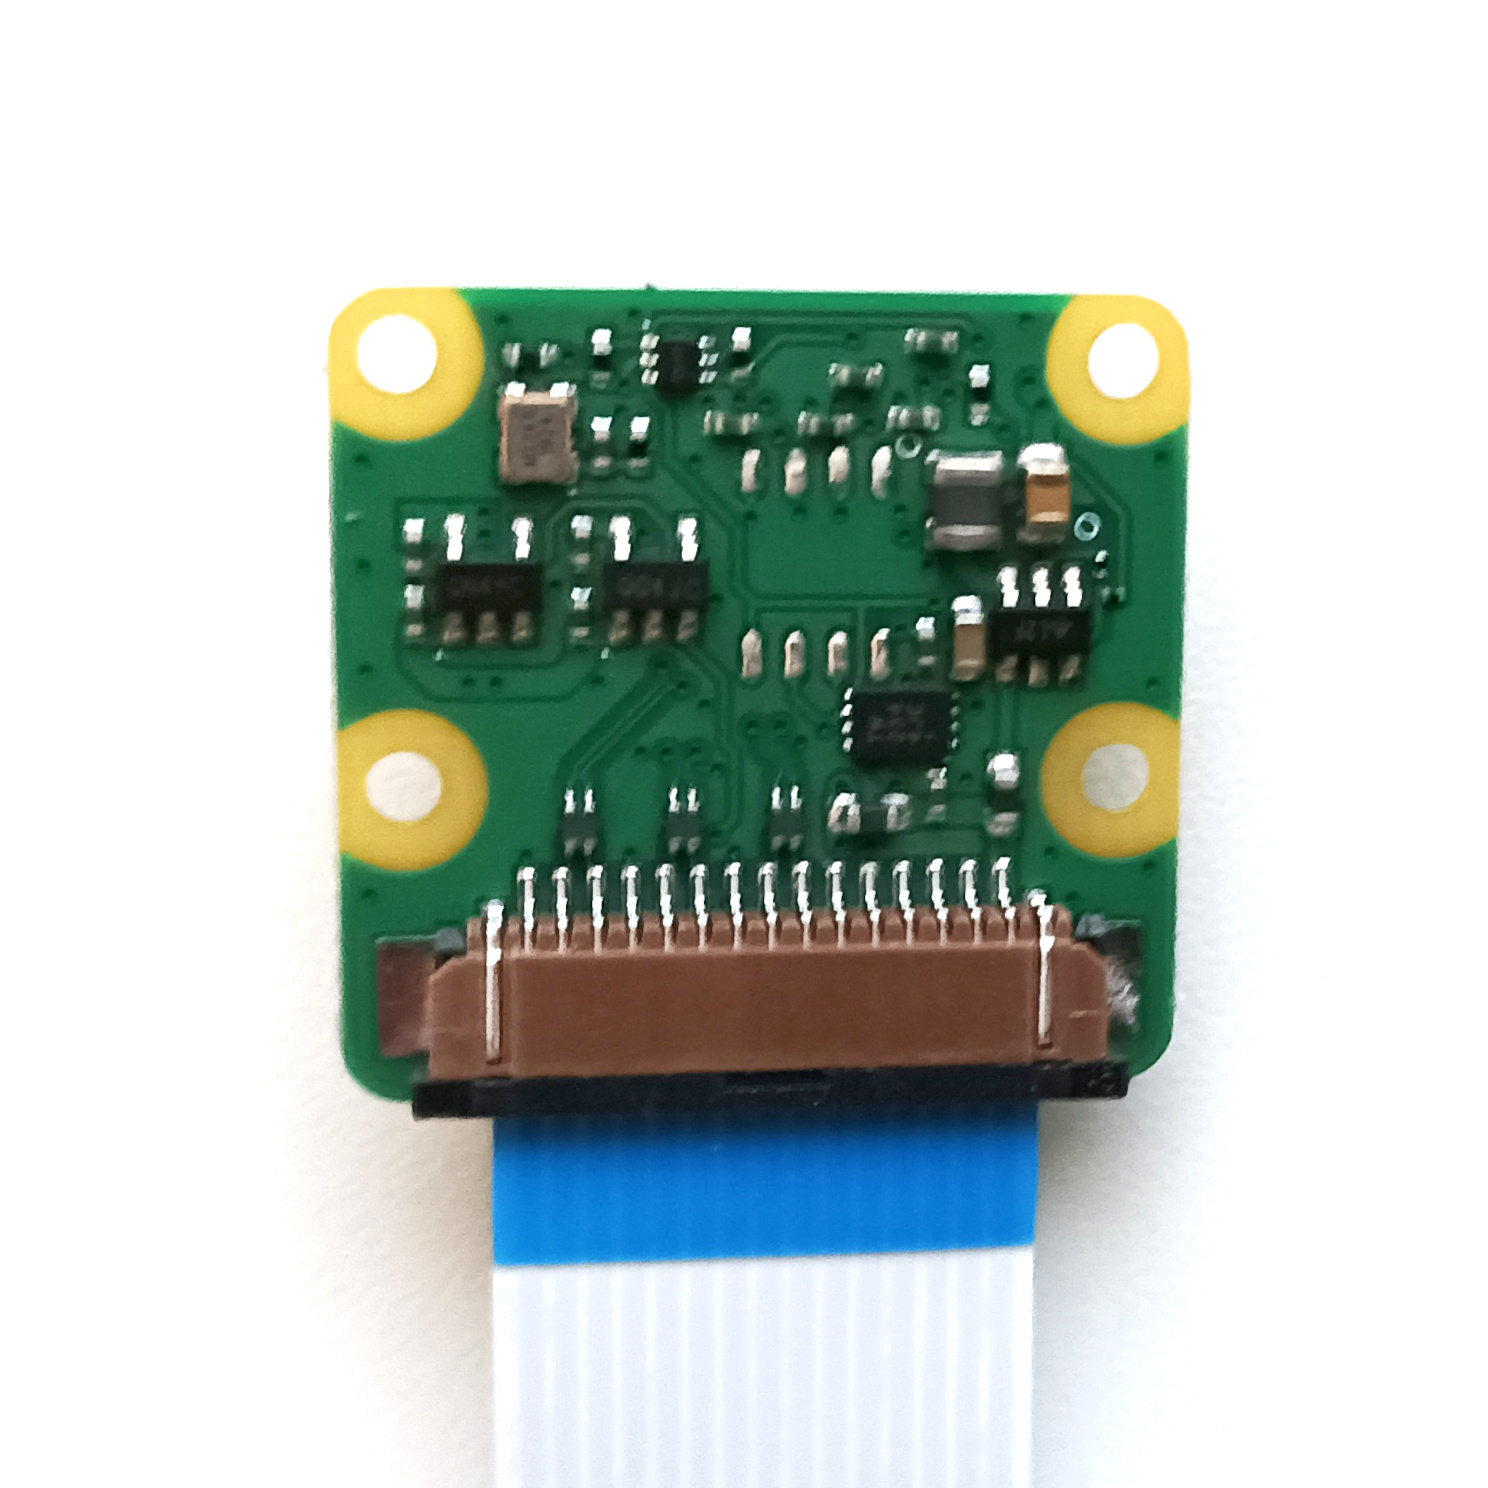
The original camera module (v1) is shown here installed into a Raspberry Pi 4. To install, locate the camera connector which should be clearly labelled on the circuit board. Pull the black plastic cable retention tab on the connector upwards. Insert the flat cable and close the retention tab fimly around the cable. On the Raspberry Pi 4, the blue tab on the cable should be facing towads the USB-A sockets with the gold contacts facing away.
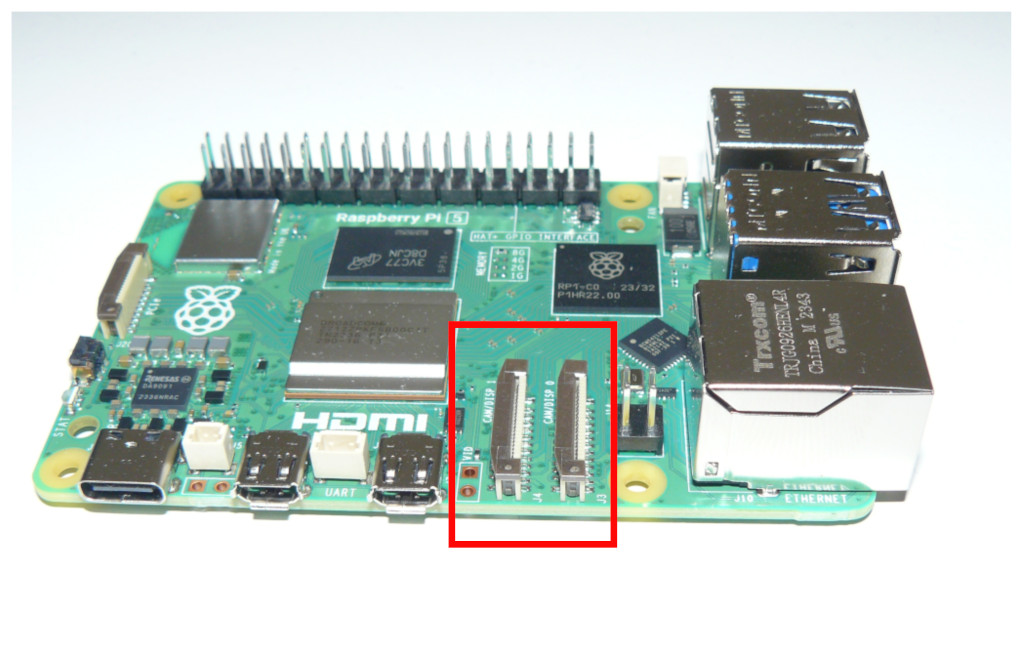
The Raspberry Pi 5 is different. It has two camera connectors labelled Cam/Disp found in roughly the same place on the board (either can be used) but the connectors are narrower than was used on previous models. The camera connectors on the RPi 5 now accept 12mm cables whereas previously they were 16mm.
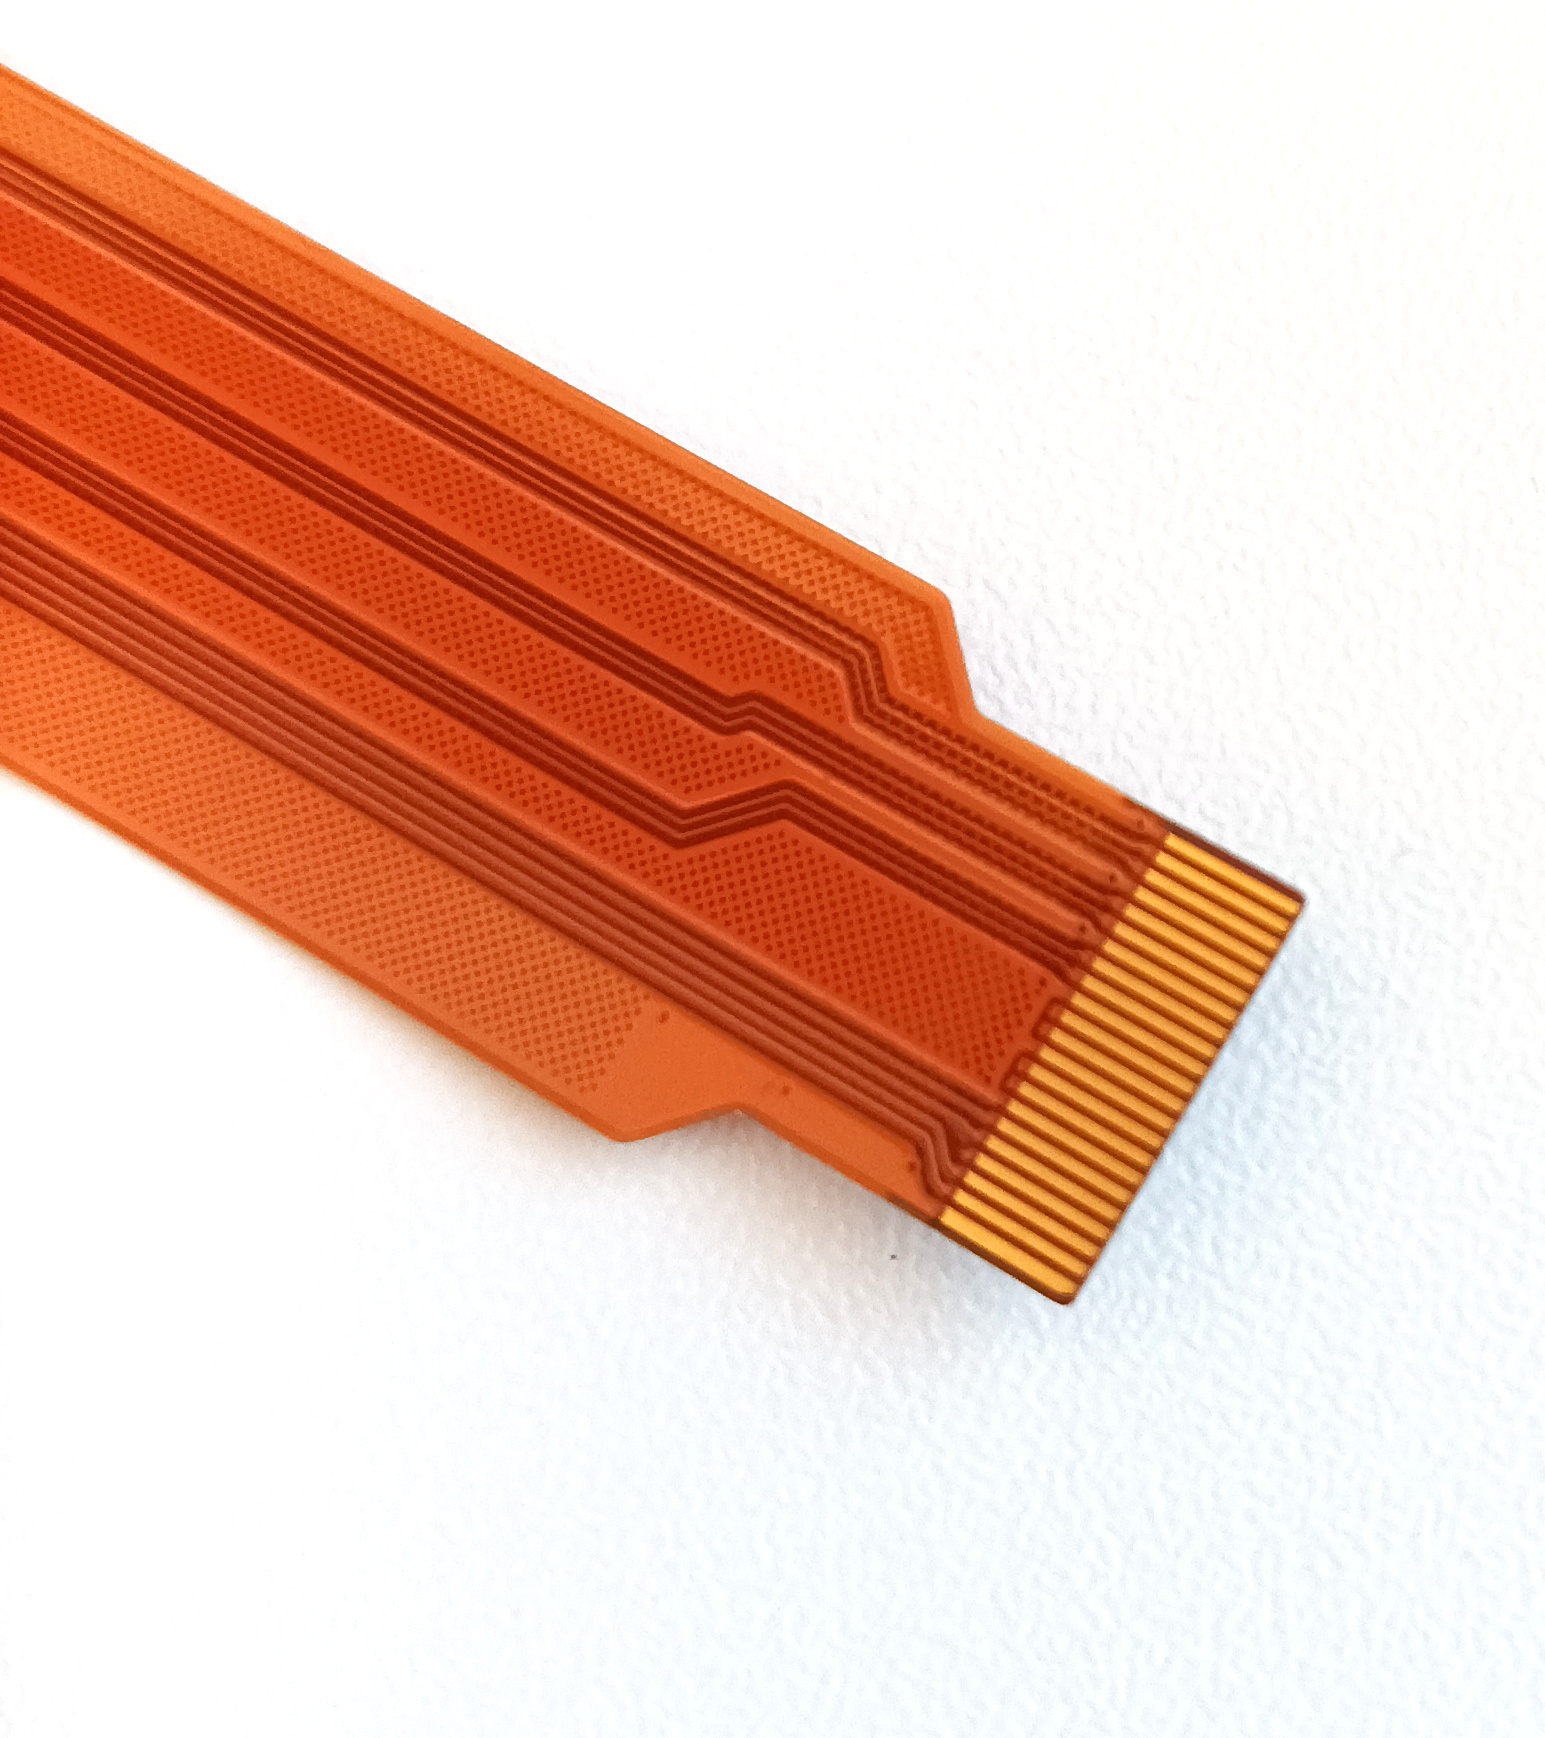
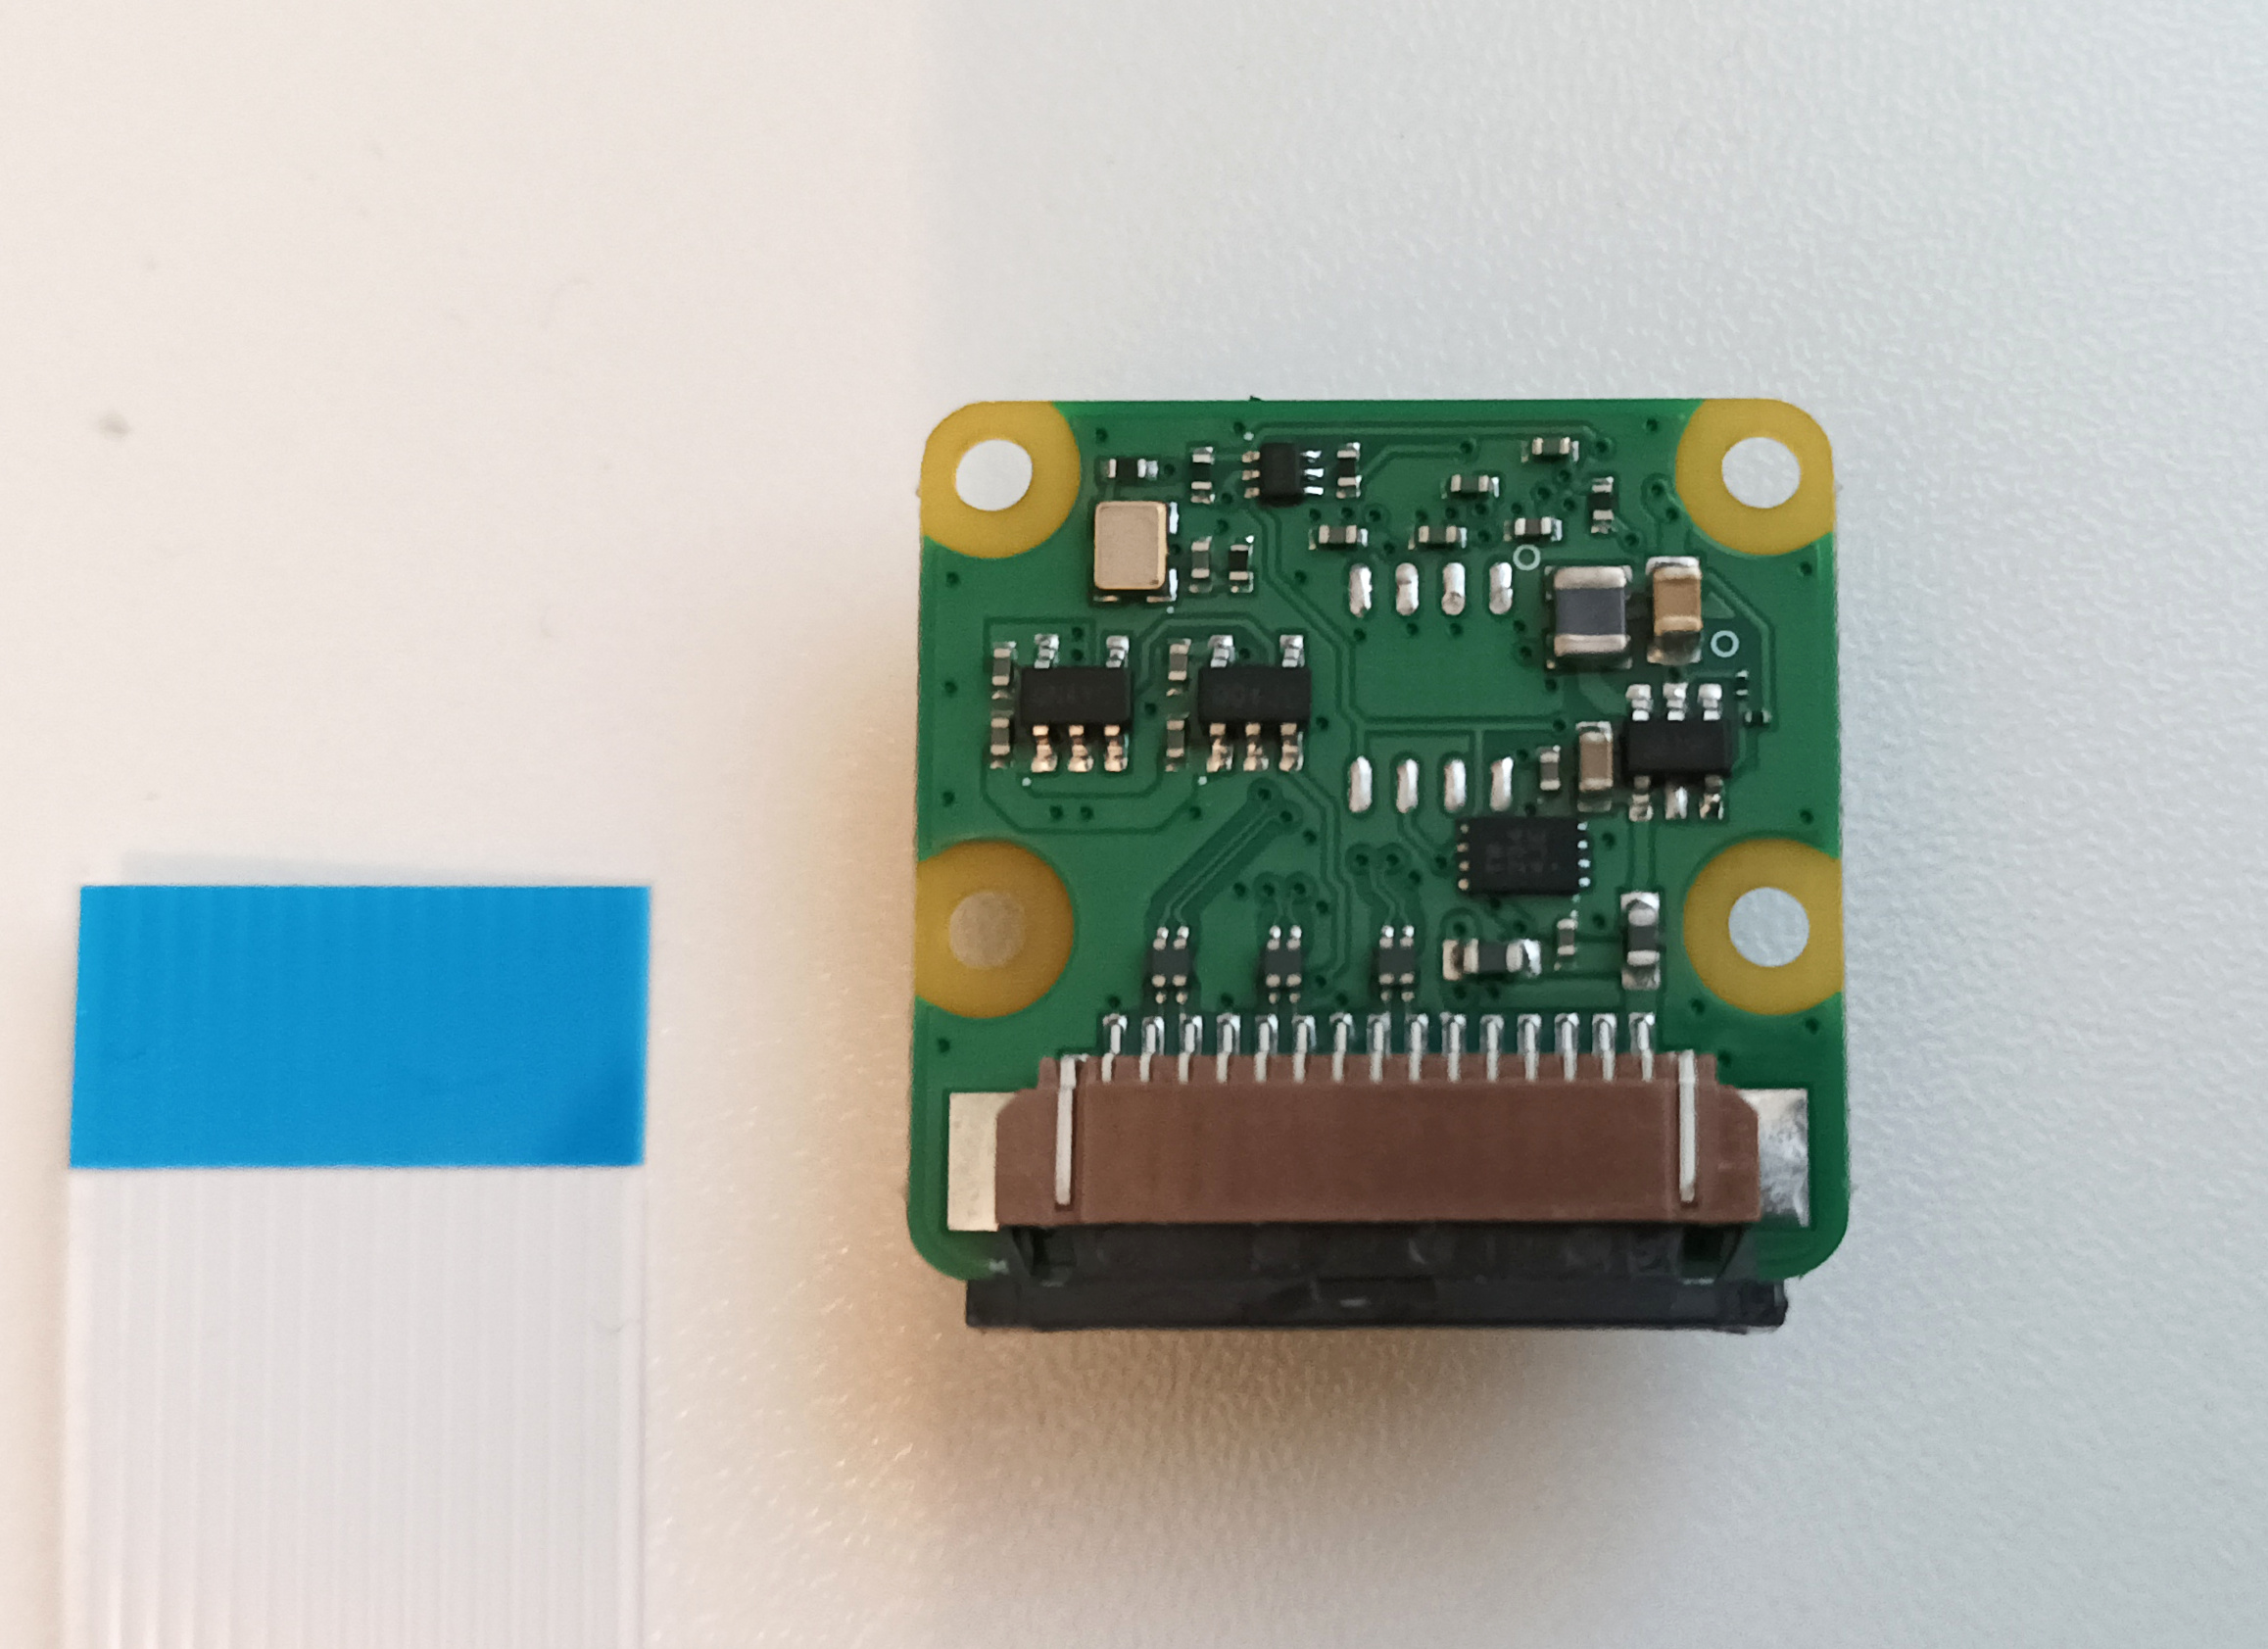
Most of the official Raspberry Pi cameras available at the time of writing are factory fitted with a 16mm connector which will not fit in the RPi 5 socket. However, an alternative cable is easily available that has a 16mm connector at one end that attaches to the camera and a 12mm connector at the other end for the Raspberry Pi 5. The latest versions of the official Raspberry Pi camera are sometimes supplied with both cable sizes but you will need to check before purchase as you may need to buy the smaller cable separately depending on which camera you have. The Raspberry Pi zero models also use the smaller cable. The 12mm end of the cable looks like this:
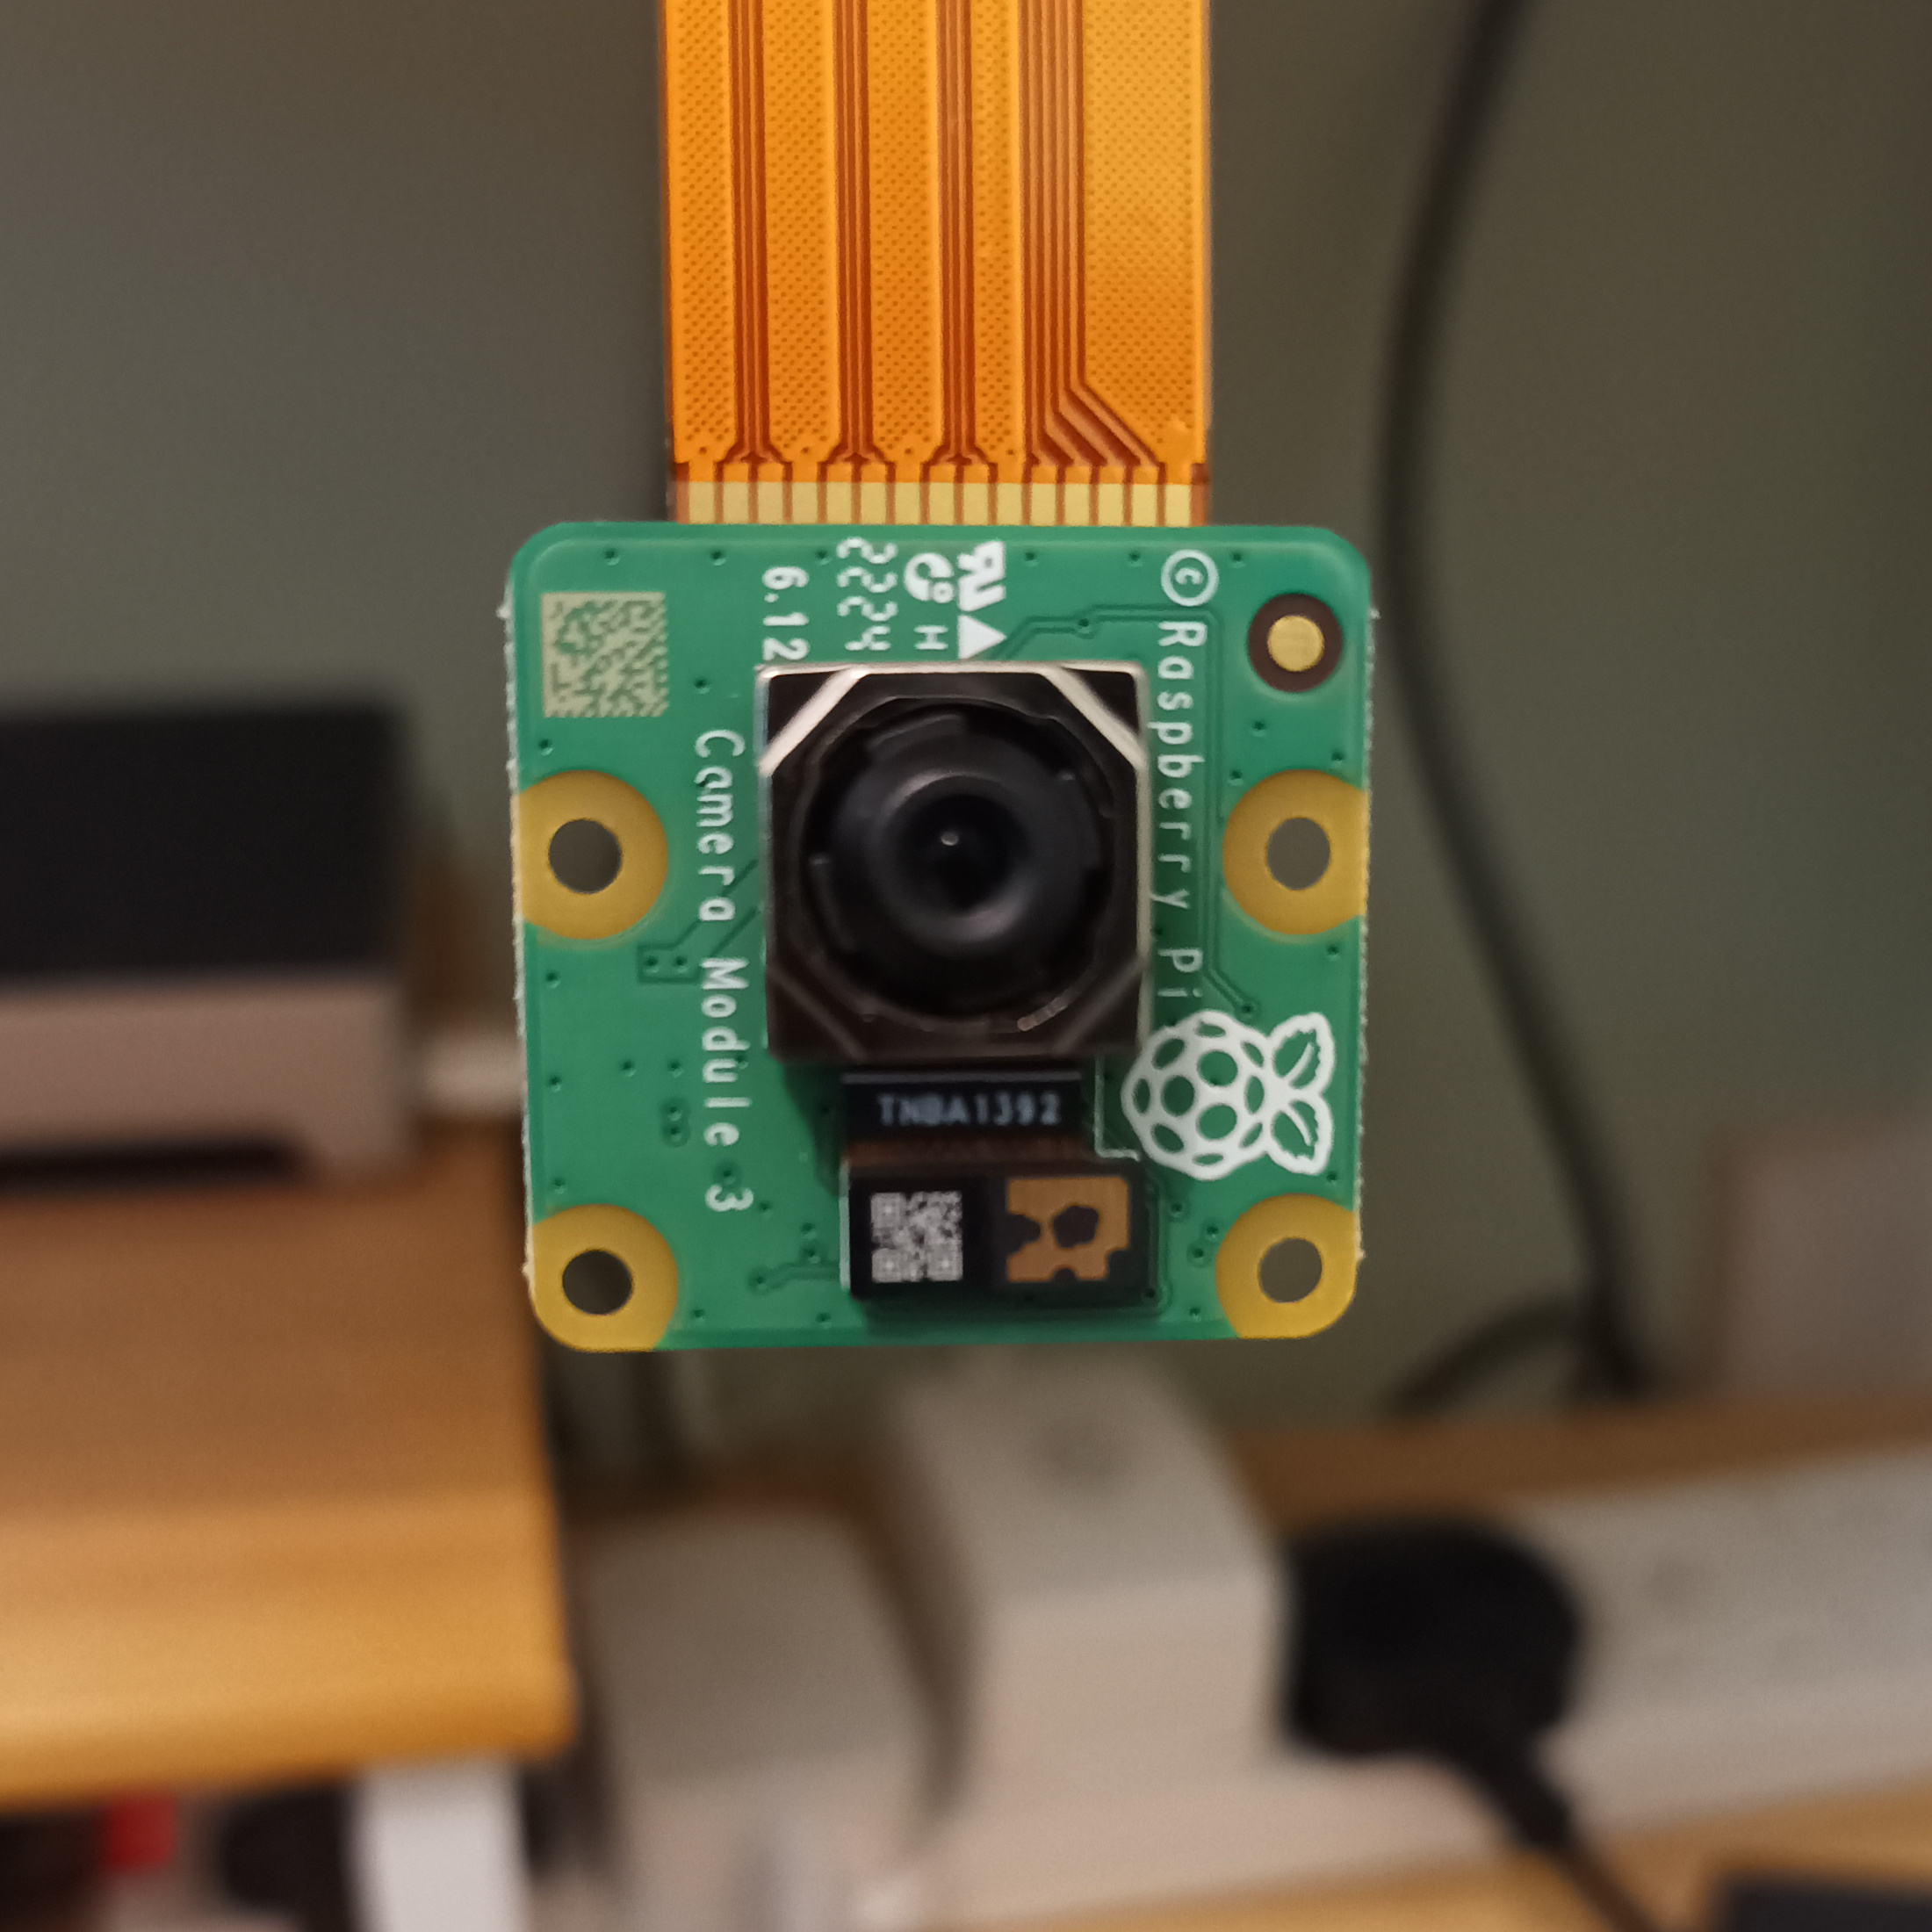
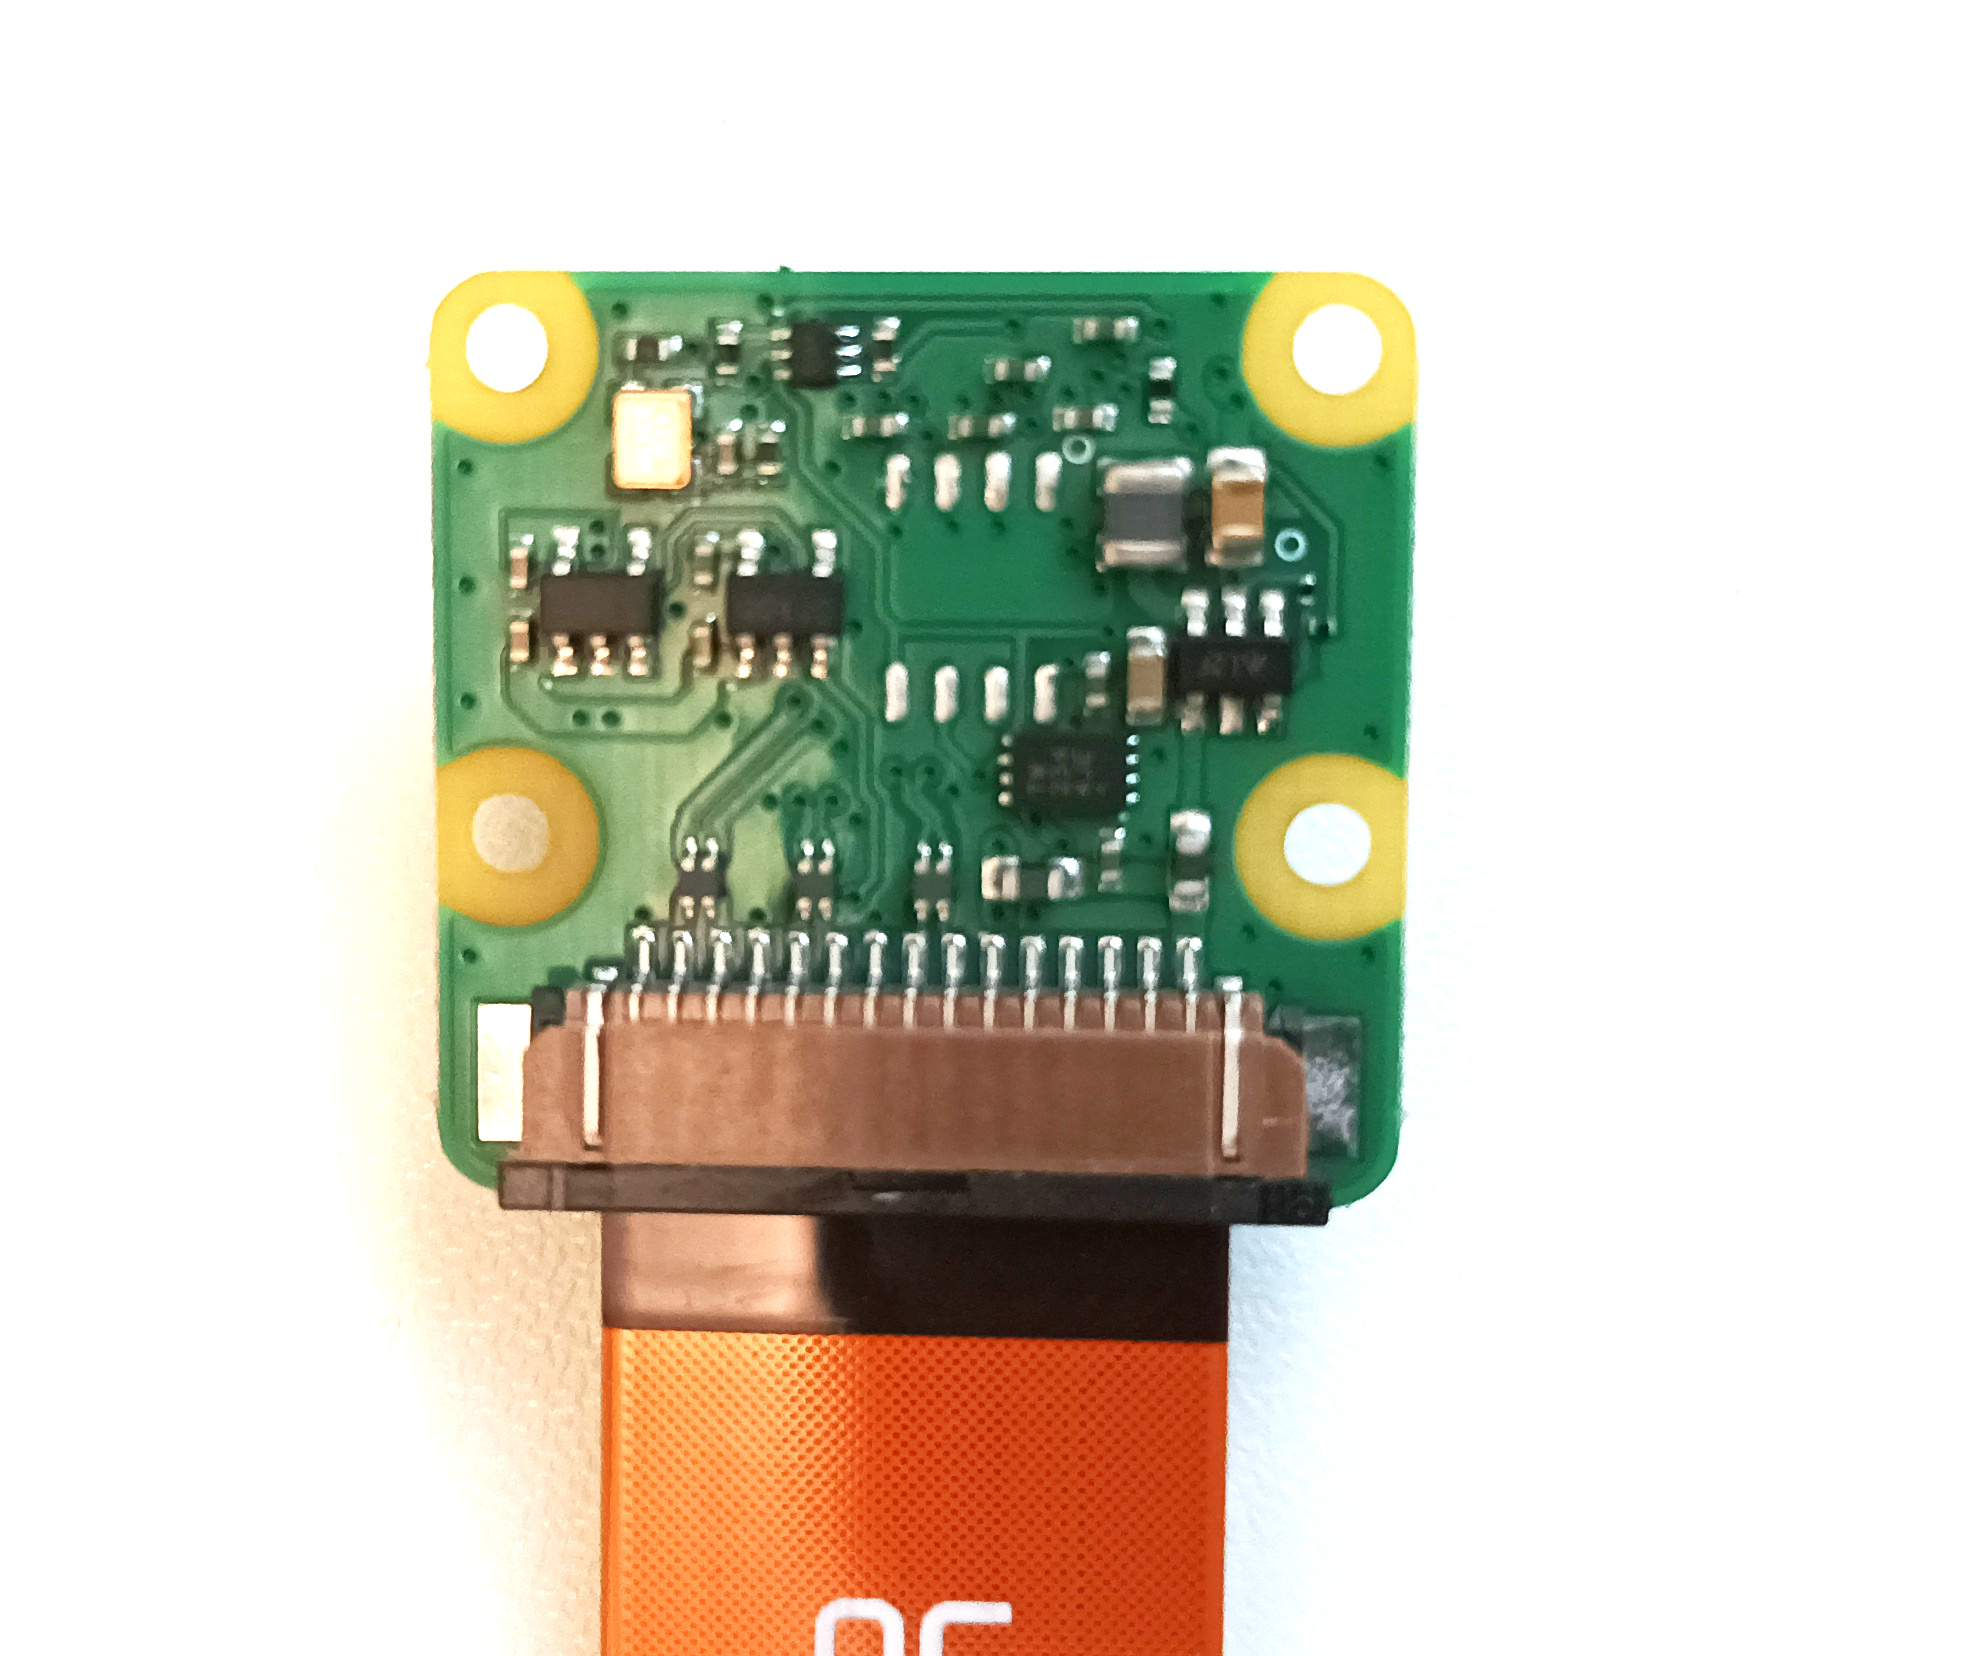
If your camera has the wider cable fitted and you want to use it with the RPi 5, you will need to detach the cable and swap it over for the smaller one. The cable connector is on the back of the camera module:
Pull the black plastic retention tab away from the connector on the camera and pull out the cable. The tab pulls towards the bottom of the camera. It's quite small and you may need to edge it out from either side with your fingernail or carefully use a tool:
Then insert the 16mm end of the replacement cable. With the camera lens facing towards the table, the gold connectors on the cable should be facing down and the writing on the cable should be facing up. Push the retention tab on the camera connector back into place such that the cable is held firmly.
On the Raspberry Pi 5 the 12mm end of the cable is installed (into either camera connector) with the gold contacts facing towards the ethernet socket and the brown tab and writing facing away:

To confirm the camera is installed correctly do:
rpicam-hello --list-cameras
which will produce output like this if it has detected the camera. This is how the official Raspberry Pi v3 camera module shows up. If you have a different camera, it will show different output:
Available cameras
-----------------
0 : imx708 [4608x2592 10-bit RGGB] (/base/axi/pcie@120000/rp1/i2c@88000/imx708@1a)
    Modes: 'SRGGB10_CSI2P' : 1536x864 [120.13 fps - (768, 432)/3072x1728 crop]
                             2304x1296 [56.03 fps - (0, 0)/4608x2592 crop]
                             4608x2592 [14.35 fps - (0, 0)/4608x2592 crop]
To take a picture:
rpicam-jpeg --nopreview --output test.jpg
This will write the image to the specified file.
Note: Many guides on the internet refer to raspi-still as a command line tool for taking photos however this was deprecated in releases of the Raspberry Pi OS after bullseye (since roughly 2022) and is no longer installed by default. rpicam-jpeg is the new tool. Some older guides may suggest the camera needs to be enabled in raspi-config, but this is no longer the case and there is no such option on newer versions of the Raspberry Pi OS.
Errors and Solutions
rpicam-jpeg attempts to open a preview window. This error is caused by it being unable to display the window, for example when running the Raspberry Pi headless without a display attached. Use the --nopreview option to prevent it opening a preview window.
[0:11:59.959129096] [1890]  INFO Camera camera_manager.cpp:284 libcamera v0.2.0+46-075b54d5
[0:12:00.002459888] [1893]  WARN RPiSdn sdn.cpp:39 Using legacy SDN tuning - please consider moving SDN inside rpi.denoise
[0:12:00.005034975] [1893]  INFO RPI vc4.cpp:447 Registered camera /base/soc/i2c0mux/i2c@1/ov5647@36 to Unicam device /dev/media4 and ISP device /dev/media1
[0:12:00.005154936] [1893]  INFO RPI pipeline_base.cpp:1144 Using configuration file '/usr/share/libcamera/pipeline/rpi/vc4/rpi_apps.yaml'
libEGL warning: DRI3: failed to query the version
libEGL warning: DRI2: failed to authenticate
X Error of failed request:  BadRequest (invalid request code or no such operation)
  Major opcode of failed request:  155 ()
  Minor opcode of failed request:  1
  Serial number of failed request:  16
  Current serial number in output stream:  16