Configuring Wi-Fi on a Raspberry Pi (Command Line)

These instructions describe how to configure wifi on a Raspberry Pi on the command line running the newer versions of the Raspberry Pi OS such as bookworm (from 2023 - 2024). The required instructions are different on older versions of the Raspberry Pi OS.
To enable wi-fi do:
sudo nmcli radio wifi on
sudo nmcli dev wifi connect "YOUR_WIFI_SSID" password "YOUR_WIFI_PASSWORD"
SSID means your wi-fi network name.
You should now see a message like this:
Device 'wlan0' successfully activated with 'fc490f48-a762-45ad-9ae3-3dd2648f5e59
Now reboot and wifi should be enabled.
You may see many web pages referring to a file called wpa_supplicant.conf. This was the file used in previous versions of the Raspberry Pi OS to configure wi-fi and is no longer the current recommended method. It is now configured using Network Manager.
Errors and Solutions
This error means you were not using root when entering the nmcli commands. Make sure you use sudo before the command or are logged in as root:
Error: Failed to add/activate new connection: Not authorized to control networking.
as does this:
Error: failed to set Wi-Fi radio: Not authorized to perform this operation
This error means your wifi name was not typed correctly. It is case sensitive:
Error: No network with SSID 'SOMETHING' found.
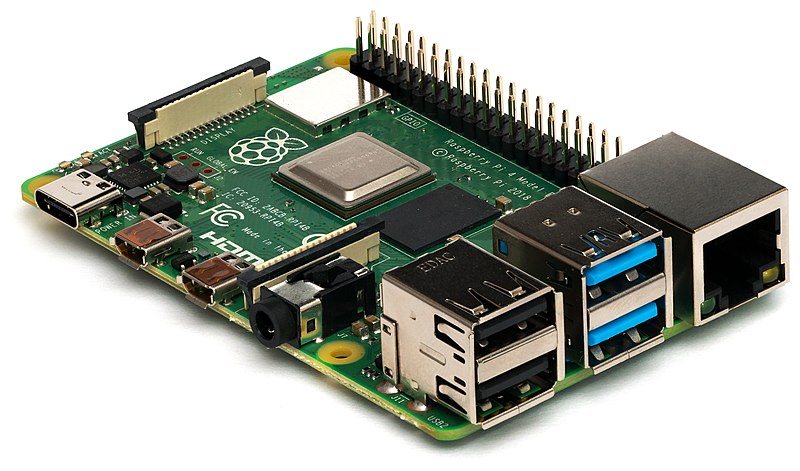
Credit for raspberry pi image: Michael H. ("Laserlicht") / Wikimedia Commons / CC BY-SA 4.0
